It's been a long journey, but now, nearly 10 months after I first ordered my 3D printer it's finally done! Well, as done as a gizmo like this is ever going to be I guess - it will forever be a work in progress with parts being tuned and such.
In my last post I though I were finished painting, but the perfectionist in me didn't like the finish on the sides of the parts. So, more paint!
 |
| Primed and ready... |
 |
| Some of the other parts. |
 |
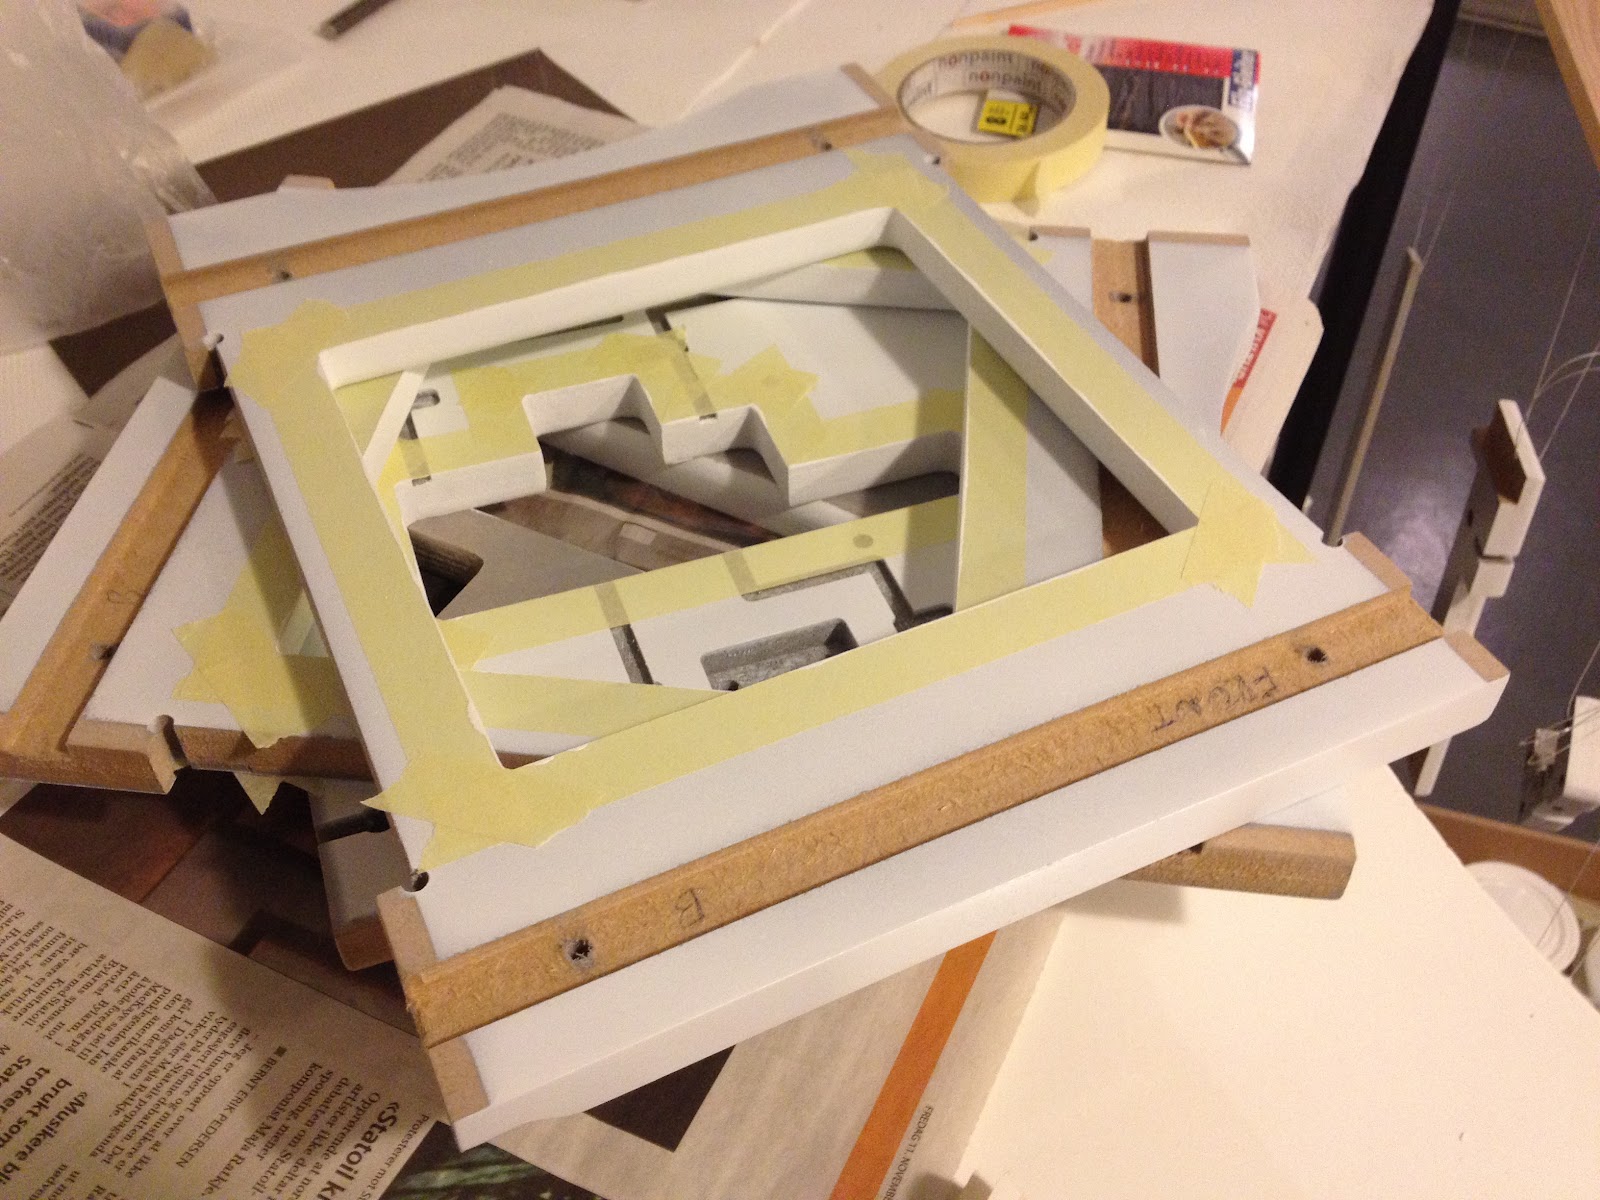
| Masked and ready for paint. |
Since my significant other loves purple my reasoning was that maybe if I used that as the secondary color she might be persuaded to let me keep the printer in the living room :)
 |
| Purple it is! |
 |
| After painting... |
Finally being happy with the paint job it was time to move on with the assembly. The biggest issue was the error in the routing of the feeder part. At first I thought I would see if I could fix it myself since I only needed to drill some holes and remove some MDF to make room for the parts. Well, a seemingly easy job botched up mainly because of me sitting on my living room floor and not having access to a proper workbench.
 |
| Result of drilling in MDF without proper support. |
After e-mailing Richard about this he promptly replied that he was not only going to send me new feeder parts, but also the newest revision of the hot-end as compensation. That's what I call great customer support - thanks Richard! :) A couple of weeks later I was ready to proceed.
 |
The new hot-end with a single extruder. There are room for
two extruders if I on a later point want to add one more. |
 |
| Seen from the top. |
The main difference between the old and the new extruder being a connection piece made of peek (the brown plastic in the picture). Peek handles heat very well so we'll have no issues with the plastic in the bowden tube retainer (blue) melting and we can skip the fan and heat sink as well simplifying the design greatly.
EDIT: As mentioned in the comments below the way the print-head is assembled in the pictures is wrong! The correct way is (from the top): push fitting, MDF (upside down from what's seen here), peek and then the nozzle. Unfortunately I forgot to take new pictures before installing the print head in the SUMPOD.
 |
| Belt in place for the X-axis. |
 |
The Y-axis in place. I took some extra time prettying up the
cables and at the same time making everything more tidy. |
 |
In progress with the final connections underneath the
SUMPOD. |
 |
Crimping the connectors took a while since I wanted to do
it properly and didn't have the proper tool. Crimp, solder
and then add the plastic casing. |
I imagine final assembly took about 3-4 days in total. Much of that time was checking and double-checking the instructions with the SUMPOD forum as well as the other build-logs out there. Instructions were not always straight forward or the same and I wanted to avoid having to pull anything apart - better to get it right in the first place!
Although I did test the electronics before I assembled the SUMPOD it was a bit nerve wrecking the first time I turned on the unit. To my astonishment everything worked perfectly! From what I had read on the forum I knew some people had issues with the feed mechanism not working in
ReplicatorG so I weren't surprised my unit had the same issue. A quick swap to
Pronterface showed the feeder worked fine albeit reversely. Changing the Configuration.h file in the Sprinter firmware fixed that issue.
// Inverting axis direction
const bool INVERT_X_DIR = true;
const bool INVERT_Y_DIR = true;
const bool INVERT_Z_DIR = true;
const bool INVERT_E_DIR = false;
The malfunctioning feeder in ReplicatorG is caused by a bug which is fixed, but hasn't made it into the main code yet. If you are on windows you can use ReplicatorG 0034 for 5D, or supposedly 0029 should work as well. It doesn't yet for me...
Next up were calibration. Unfortunately I didn't have much to go with on how to to that exactly so to make a long story short I ended up with a nasty collision between the printer head and the print bed - even though I had my finger on the power button. The result of the collision left my printer bed crooked on the Y-axis. I don't have a picture to show this, but it is visible to the eye and I guess it's about 3mm difference between the top and bottom. It was all my fault and being angry with myself I had to leave the project alone a couple of days before I could continue. Not necessarily a bad thing since it gives the subconscious time to work out whatever needs to be done to fix the problem. Which in this case were; where is Z = 0.
Browsing the forums and the Wiki led me to
this g-code from Airtripper. Experimenting with the Z value (and my finger on the off-button) I started with the high value of 10.0 and working my way down.
 |
| My setting of Z = 2.5 |
With Z = 2.5 I get the correct distance from the printer head to the bed. It's not ideal yet since the bed is not flat compared to the print head on the Y-axis. Anyways; I'll look into the Sprinter firmware to see if I can set the value there or if I have to pre-process all my g-code with this value.
 |
| Pronterface |
Since I still have issues with ReplicatorG I continued to use Pronterface. Although it doesn't have a 3D view of the model to be printed, like ReplicatorG has, I love the manual controls. The temperature monitoring also works as expected. That's another area where I have had issues with ReplicatorG with it only sporadically showing any readings. I'm not sure if that has anything to do with me running 0029 or the Sprinter firmware, but I would guess the former since Pronterface works fine.
 |
| First print! Red and pretty :D |
 |
Closeup of the first print. Seems like the registration is good!
The lens is to blame for the apparent skewing. |
I'm impressed by the quality of the print and what little can be seen of artifacts I believe can be linked to the bed and the distance between the bed and printer head being a bit too high. I can clearly see the thread, but playing with the parameters of
Skeinforge should allow for higher resolution in that aspect.
I did try to remove the raft, but it's firmly stuck so a knife is needed. After I have made some adjustments I'll try to print without a raft and see how that goes.
What remains now is to get the bed leveled. I'm considering a variation of the mechanism described on the
SUMPOD wiki, but it's hard to source springs here in Norway so if my RC-Car spring spare-part idea doesn't pan out I have to think about something else.
I also need to work on the display contrast. Not that I use it, but It's nice to have it working anyway. With the current setup I use a 3K resistor which is a bit much since the contrast is too low.
I have purchased
Alibre Design for the purpose of 3D modeling of parts, but since my main computer at home is a Mac I'll keep an eye on the new Autodesk Inventor Fusion as well. It's a bit of a hassle to boot into bootcamp every time I need to fix a part. Now on to the next project - where self-printed plastic parts most likely will play a great part :) After all; I have around 7 Kg of PLA and ABS plastics to play with...


7 comments:
I'm pretty sure you have your hotend built incorrectly. I believe it should be nozzle, peek, MDF, then pushfit. You have the MDF upside-down and in direct contact with the hot nozzle. This could be dangerous as the hot end can reach temperatures close to the ignition point for MDF.
On a less crucial note, I definitely recommend blue painters tape to cover the bed (when printing with PLA). It helps the first layer stick and comes off fairly easily. Though I sometimes use a craft knife blade for the more fragile items. I also have a layer of tape under my blue tape (kapton tape but that was more accidental than anything) since then I'm less likely to cut into the bed when I use a blade on a print.
I have a set of bed levelling bits spare. Email me firstname at lastname dot co dot uk (see below for correct names) if you'd like them.
Regards,
Mark Hindess.
Thank you for the tip about the hotend up against the MDF - I hadn't thought about that. Doing a bit of research shows the ignition temperature to be around 218 degrees C. So far I have only been printing PLA at 185 degrees and there's been no fumes, but later when I'm going to start printing ABS it will be hotter than that so you have a valid point. At the moment I'm not overly concerned since the distance between the heating element and the contact point with the wood is roughly 2cm, but until I get hold of a infrared thermometer I can't be sure of what it really is.
There's no assembly instructions so I have asked on the forum and hopefully I'll get this sorted out. Turning the MDF upside down and assembling it like you suggest might not give it a lot of stability since the hole in the MDF is just a tiny bit smaller than the push fitting. I'm afraid it might fall through as well ;)
I actually do use painters tape - just not the blue kind. There was only white/yellow type left at the store so I went with that. It's not as thick as the blue one so I'll probably add a couple of layers and see if that helps before I go out and hunt for another roll :)
I'll take you up on the levelling bits - email coming up shortly. And thanks for the feedback!
You were quite right about the order of the assembly. Nozzle, peek, MDF and pushfit. Reassembled the extruder head and it's all working now :)
Also; I swapped the PLA with a new type - which incidentally don't stick too well to my current masking tape so I'll go get some blue 3M tape tomorrow.
Thanks again!
The sticking problem might be that the temperature is too low for the new filament rather than a tape problem.
-Mark.
Thanks for the tip! I bough some blue masking tape just in case. Better to keep the number of variable factors as low as possible.
This is a good post. This post gives truly quality information. Well use of pics to define the topic. Thank you so much. Keep up the good works..
Printhead911
Post a Comment