Sunday, September 28, 2014

Playing around with decals

I came over some very cool wings in vector / eps format at 4vector.com and thought it would be a cool way to make my girlfriends laptop look spiffy.

Silhouette Studio, which comes with the vinyl cutter, is a bit finicky about which formats it will import so prep consists of opening the original eps in Illustrator and saving out an dxf file (Autodesk Autocad format).

The rest is easy, load up the file, scale to desired size and hit "print".

Superfluous vinyl removed

Transfer paper added

Final result on the laptop

The hardest part were actually to remove the vinyl with backing from the cutting mat, which is super sticky, so I'll have to work a bit on that to avoid ruining the artwork.

I'm pretty happy with the result, but in retrospect I would probably spend a little time changing the design a bit, making it higher, to create more space around the Apple logo. Oh, well, next time...

Friday, September 19, 2014

Good news for Virtual Reality: VR Direct


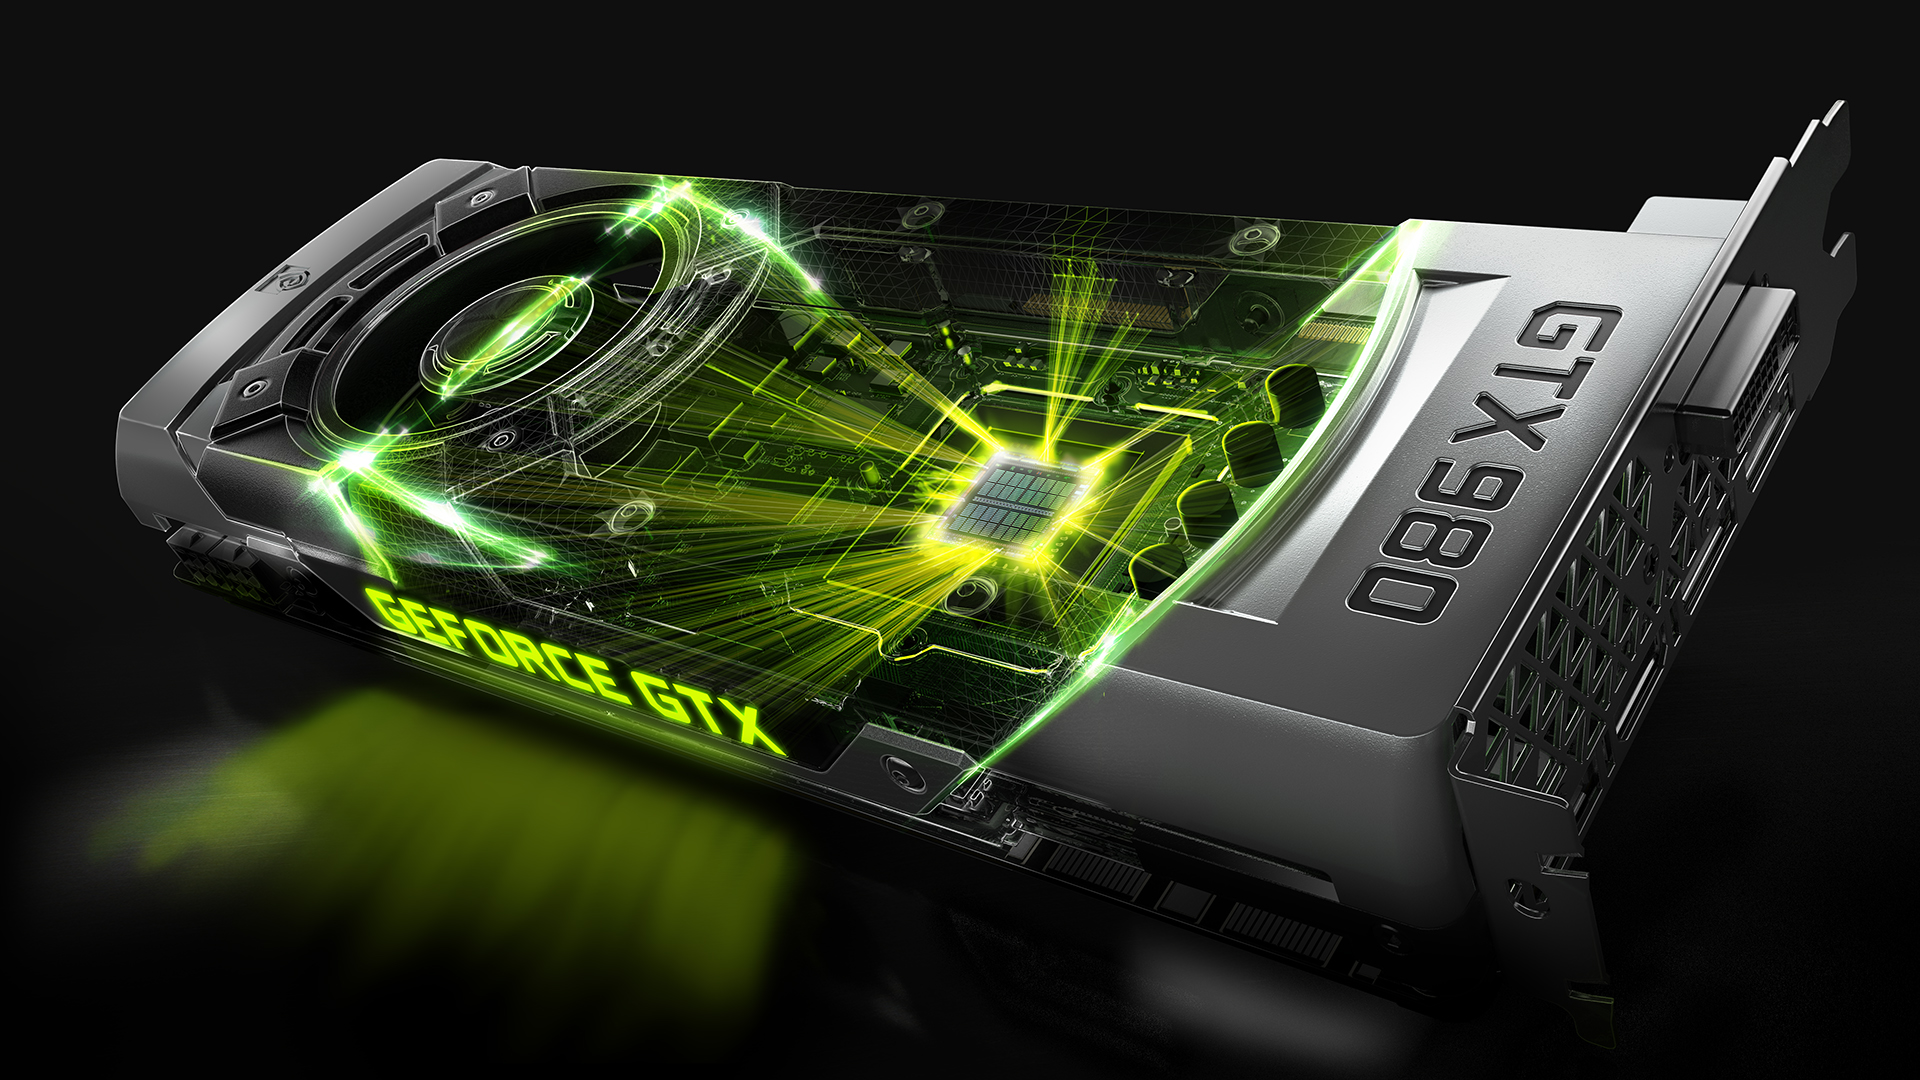
I just read up on the latest release from NVidia, GeForce GTX 980 (and 970) which is the first high end graphics card based on the Maxwell architecture, and there are some really great news to help mitigate latency and increase realism when using VR goggles.

As previously discussed, in the blog post maximizing performance for VR, there hasn't really been a way to use NVidia SLI (multiple graphics cards) to increase the performance/quality when doing VR. The main reason for this is that by default SLI added at least one frame of latency - which is too much. And having low latency is crucial to getting good immersion. With their new VR-SLI they have found a way to let each GPU render one eye, which then will be combined and sent to the display.

Another great feature they have implemented is Asynchronous Warp - a technique first suggested by John Carmack I believe. There's a host of smaller improvements, but the last of the big ones are a low latency mode which reduced the OS latency from 15ms to 5ms.

More can be read in AnandTechs analysis of the new cards.

Sunday, August 31, 2014

Artsy thingy: check!


I guess it had to be done at some point. Artsy print, accomplished. Twisted flower vase by Yellasing.

Came out pretty good considering I had to scale it down to around 30% of the original size.

Saturday, August 9, 2014

PRINTinZ printer plate

On another note; I'm extremely pleased with the printer plate from PRINTinZ. I'm using the 140x140 mm printer plate which fits my printable area quite nicely.

The prints stick extremely well to the surface even when printing cold (PLA). Although too little clearance between the hotend and the surface might have it stick too well on thinner prints so be careful.

Failed print, not because of the printer plate though.

It is great to be able to lift out the whole printer plate instead of having to fiddle inside the printer when removing the print. Detaching the print from the plate is surprisingly easy. Instead of having to use a sharp knife you just twist and bend the plate and the print pops right off - as long as it's not too flexible.

The above part is 120mm in diameter and that's the biggest footprint I've managed to print to date. Previously the parts would always pop off before the print was done - even with a heated print-bed and using kapton or blue tape.

A funny thing is that when I removed the plate and placed it on the table, before removing the part, it was quite warped by the print. The finished part is a bit warped, but in this case it won't matter, but it's something I'll have to look into in the future.

Having dialed in the new E3D v6 hotend the new setup is starting to look quite nice - best quality prints so far :)

The quantum mechanics of 3D printers

Sometimes it would one could believe 3D printer have quantum properties. You have to actively observe it to get the expected result. Whenever you look away something goes wrong...

Sunday, April 6, 2014

A Calendar of Tales

I kind of rediscovered Neil Gaimans "A Calendar of Tales" project today. I've read all the stories before, but not seen the videos: which are too good not to share. Enjoy!


Monday, March 17, 2014

Another Rebuild

It seems most of the posts on this blog has been about me rebuilding my 3D printer. Well, hopefully this will be the last one in a while as I have several other projects that are in need of parts and I'd rather spend time on them than on another teardown/rebuild.

I were quite happy with the performance on my previous extruder mechanism, although it was supposed to be temporary. Combined with the J-Head I got very nice prints for a while.


When the extruder broke down I tried a couple of e-bay replacements but did not quite get the performance (or fit with my printer) I was looking for. At the same time the J-Head started acting up (leakage and stuff) so I needed to find a replacement for that as well.

After a bit of research I ended up buying a Bulldog Lite Extruder from their Indiegogo campaign and was pleasantly surprised that they shipped them right away with no waiting at all. Although a bit heavy it's beautifully machined and well put together. The "Lite" comes without the gearbox which makes it a bit lighter, but is only suitable for 1.75mm filament. Secondly I ordered the E3D v5 hotend which has gotten great reviews. Going with an all-metal-hotend made sense this time around since there's no peek or PTFE that can melt/be deformed.

One thing about about the Bulldog / E3D combo that isn't perfect is the mating between the two. They are both fabricated to follow the J-Head "standard" so you can just slide the stem into the extruder, but there's quite a bit of slack along the z-axis so I made some shims out of regular plastic. 4 of these did the trick.


It took me a while to get everything put together, as I also switched the printer firmware from my stock Sprinter firmware, delivered with the SUMPOD, over to the latest Marlin.

Now I finally have a working printer again. And I must say, I'm very pleased with the quality of the prints as well as the new functionality in Marlin. The printer even sounds better!


My first print were a camera stand for one of my Raspberry Pi's. This print was sliced with .3 mm layer height so it's a bit rough, but I opted for speed before beauty this time. I've made the design available on Thingiverse as well.

Until next time!